

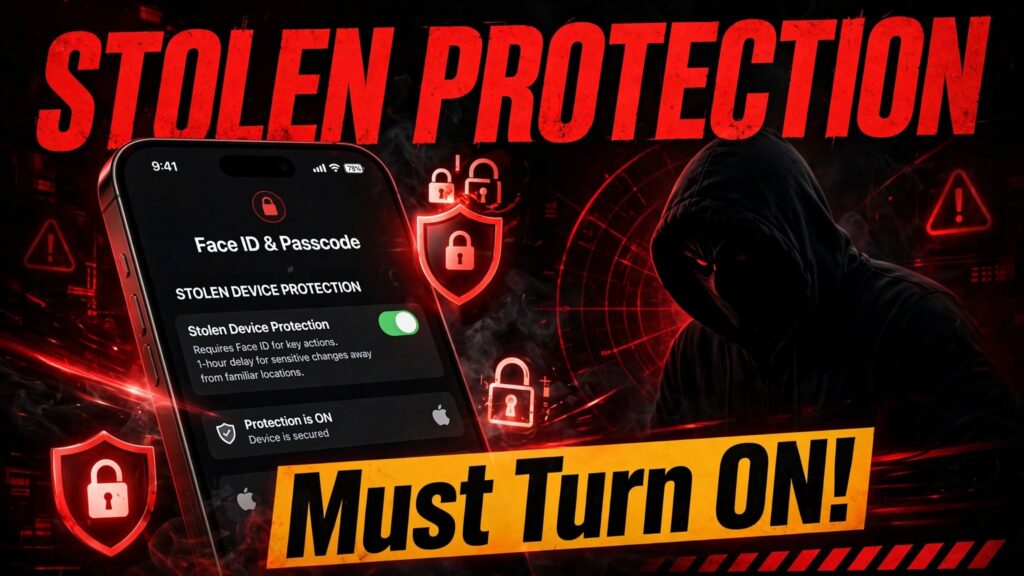
Imagine this: your iPhone is stolen, and the thief knows your passcode. Within minutes, they could access your saved passwords, banking apps, and even lock you out of your Apple Account. It’s a nightmare scenario that made headlines a few years ago when thieves targeted unsuspecting victims in bars and public places .
Apple responded by introducing Stolen Device Protection with iOS 17.3 in January 2024. This feature adds an extra layer of security when your iPhone is away from familiar locations like home or work, making it significantly harder for thieves to access your sensitive information .
In this guide, we’ll separate fact from fiction, explain exactly how Stolen Device Protection works, and provide a step-by-step guide to set it up. Whether you’re a long-time iPhone user or new to Apple’s ecosystem, this information could save you from a devastating data breach.
Myth 1: Stolen Device Protection Turns On Automatically
Many iPhone users assume this security feature is enabled by default.
The Truth: Until recently, Stolen Device Protection required manual activation . Starting with iOS 26.4 (expected spring 2026), Apple will enable it by default for all users . However, if you’re running an older version of iOS, you need to turn it on yourself.
The bottom line: don’t wait for an update to protect yourself. You can enable Stolen Device Protection right now by following the steps in this guide .
Myth 2: Stolen Device Protection Works Like Find My iPhone
Some users confuse Stolen Device Protection with Find My iPhone.
The Truth: These are complementary but distinct features. Find My helps you locate and remotely lock a lost device . Stolen Device Protection specifically prevents unauthorized access to your data and critical settings, even if a thief knows your passcode .
Apple’s industry-leading encryption already protects most stolen iPhones. Stolen Device Protection addresses a rarer but more dangerous scenario: when a thief steals your phone and knows your passcode .
Myth 3: Your Passcode Is Enough Protection
Many people believe their passcode alone keeps their data secure.
The Truth: When someone has your passcode, they can bypass Face ID or Touch ID for many operations. With Stolen Device Protection enabled, certain sensitive actions require biometric authentication with no passcode fallback . This means even a thief who knows your passcode cannot access key features like stored passwords or credit card information.
What Stolen Device Protection Actually Does
When enabled, Stolen Device Protection introduces two key security measures when your iPhone is away from familiar locations :
1. Biometric Authentication Requirement
You must authenticate with Face ID or Touch ID (no passcode alternative) for sensitive actions including:
- Accessing passwords and passkeys saved in Keychain
- Using AutoFill payment methods in Safari
- Applying for a new Apple Card
- Viewing your Apple Card virtual card number
- Taking certain Apple Cash and Savings actions in Wallet
- Turning off Lost Mode
- Erasing all content and settings
- Using your iPhone to set up a new device
2. Security Delay
For even more critical changes, you’ll face a one-hour security delay requiring two biometric authentications—one at the start and one after the hour . This applies to:
- Changing your Apple Account password
- Signing out of your Apple Account
- Adding or removing Face ID or Touch ID
- Changing your iPhone passcode
- Turning off Find My
- Turning off Stolen Device Protection itself
- Updating account security settings
The security delay is designed to give you time to mark your device as lost before a thief can lock you out of your accounts .
How to Set Up Stolen Device Protection: Step-by-Step
Prerequisites
Before you can enable Stolen Device Protection, you need :
- iPhone with iOS 17.3 or later
- Apple Account with two-factor authentication enabled
- Device passcode set up
- Face ID or Touch ID enabled
- Significant Locations turned on (in Location Services)
- Find My enabled (cannot be turned off while Stolen Device Protection is active)
Step 1: Check Your iOS Version
Go to Settings > General > About and verify you have iOS 17.3 or later installed .
Step 2: Enable Significant Locations
This feature helps your iPhone recognize familiar places like home and work :
- Open Settings > Privacy & Security > Location Services
- Scroll down and tap System Services
- Tap Significant Locations & Routes
- Unlock with Face ID/Touch ID
- Toggle the switch on
Step 3: Turn On Stolen Device Protection
- Open Settings
- On iPhones with Face ID: tap Face ID & Passcode
- On iPhones with a Home button: tap Touch ID & Passcode
- Enter your device passcode
- Scroll down and tap Stolen Device Protection
Step 4: Choose Your Protection Level
Away from Familiar Locations: (Recommended)
- Security measures activate only when your iPhone is away from places like home or work
- Full convenience when at familiar places
Always: (Maximum Security)
- Security measures activate everywhere, including familiar locations
- Even at home, you’ll need biometric authentication for sensitive actions
Step 5: Lock Individual Apps
For an extra layer of security, you can also lock specific apps :
- Go to your Home Screen
- Touch and hold the app you want to lock
- Tap Require Face ID (or Touch ID)
- The app will now require biometric authentication to open
This is particularly useful for banking apps, email, and messaging apps that contain sensitive information .
What Happens If Your iPhone Is Stolen
If your iPhone is stolen and Stolen Device Protection is enabled :
- First step: Use the Find My app on another device or visit iCloud.com/find to mark your device as lost. This locks your iPhone and suspends Apple Pay cards .
- Thief’s limitations: Even if the thief knows your passcode, they cannot:
- Access your stored passwords
- Use saved payment methods
- Turn off Lost Mode (requires biometrics)
- Erase your iPhone (requires biometrics)
- Change your Apple ID password (requires Security Delay)
- The Security Delay works in your favor: When a thief tries to make critical changes, they must wait an hour and pass biometric authentication twice. This gives you ample time to secure your accounts .
Frequently Asked Questions
Q: Do I need to turn on Stolen Device Protection if I have a strong passcode?
A: Yes. A strong passcode is good, but Stolen Device Protection addresses the scenario where a thief acquires your passcode through observation. It’s an additional safeguard, not a replacement .
Q: Will Stolen Device Protection affect my daily phone usage?
A: Minimal. The additional security measures only activate when your iPhone is away from familiar locations. In familiar places like home or work, you’ll use your phone normally .
Q: Can I turn off Stolen Device Protection?
A: Yes, but if you’re away from familiar locations, you’ll need to go through the Security Delay process (one-hour wait with biometric authentication). This prevents thieves from quickly disabling it .
Q: What if I sell my iPhone?
A: Turn off Stolen Device Protection before selling, giving away, or trading in your iPhone. This should be done while you’re in a familiar location to avoid the Security Delay .
Q: Does Stolen Device Protection cost anything?
A: No. It’s a free feature included with iOS 17.3 and later .
Conclusion
Stolen Device Protection is one of Apple’s most important security features in recent years. It addresses a specific but dangerous threat: thieves who not only steal your iPhone but also know your passcode .
By requiring biometric authentication and introducing a Security Delay, this feature gives you crucial time to protect your accounts and data. The best part? Once set up, it works silently in the background, adding security without complicating your daily life .
Don’t wait for iOS 26.4 to enable this feature by default. Turn it on today to protect your digital life. For more iPhone security tips, explore our guide on using Locked Apps with Stolen Device Protection.