

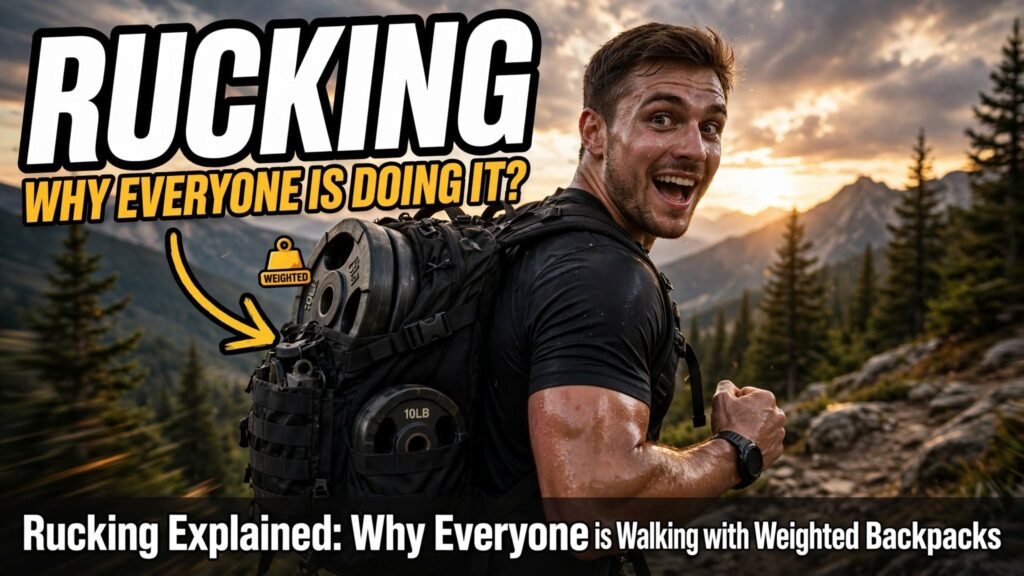
Rucking—walking or hiking with a weighted backpack—has exploded in popularity as a low-impact, full-body workout. Originally a staple of military training, this simple activity is now embraced by everyone from busy professionals to fitness enthusiasts seeking efficient exercise. But why is everyone suddenly strapping on weighted packs? Rucking combines the cardiovascular benefits of walking with the strength-building resistance of carrying a load, offering serious results without the joint-pounding impact of running . Whether you’re looking to build strength, burn calories, or improve posture, rucking is accessible to nearly any fitness level. Let’s explore the benefits, essential gear, and expert tips to get started on your rucking journey.
What Is Rucking?
Rucking is defined simply as walking or hiking while carrying a weighted rucksack or backpack. The load significantly increases the difficulty, causing muscles to work harder to maintain pace—similar to walking uphill versus on level ground . This extra effort engages practically every muscle, from your shoulders to your feet, making it a serious total-body workout that also boosts aerobic fitness .
Key Health Benefits of Rucking
Rucking offers a range of physical and mental benefits that go beyond a standard walk:
1. Burns More Calories
Adding weight to a walk dramatically increases calorie burn. Rucking can burn up to three times more calories than walking without a pack, putting it on par with jogging . When rucking at a moderate pace (zone 2 cardio, 60-70% of max heart rate), your body relies increasingly on fat for fuel over time .
2. Builds Strength and Endurance
The weighted load turns walking into a strength exercise. Your glutes, quads, hamstrings, calves, and core all work harder to stabilize the load, while your shoulders and upper back brace against the pack . Over time, rucking can contribute to modest muscle development in the legs, glutes, core, and upper back .
3. Improves Bone Density
Rucking places force on your bones, which triggers bone cells into action and encourages bone formation. This makes it particularly valuable for combating age-related bone loss and osteoporosis, especially for post-menopausal women .
4. Boosts Mental Health
Exercise in general improves mood, but rucking adds the benefit of being outdoors. Rucking can lower stress levels and blood pressure, and when done with a group, it builds camaraderie and a sense of achievement .
How to Start Rucking: A Beginner’s Guide
Starting rucking doesn’t require a hefty investment or advanced fitness level. Here’s how to begin safely:
1. Choose Your Gear
- Backpack: Any sturdy backpack works initially, provided it has wide, padded shoulder straps and ideally a chest strap to keep it secure. Avoid string bags. A dedicated rucking backpack (rucksack) with a hip belt offers better weight distribution for heavier loads, but a regular backpack is fine to start .
- Weight: You can use household items like books, water bottles, bricks, or sandbags. For better stability, choose items that sit high and tight against your back. Weight plates designed for rucking are also an option .
- Footwear: Wear comfortable, supportive shoes with cushioning. Trail runners or hiking shoes with ankle support work best for varied terrain .
2. Determine Your Starting Weight
Begin with 10% of your body weight. For example, a 160-pound person should start with about 16 pounds, though even 10 pounds will feel challenging for beginners . Progress gradually, increasing by no more than 5 pounds every 2–3 weeks as your body adapts .
3. Get Your Form Right
- Pack placement: Adjust the pack so it sits high on your back, about 2 inches below your shoulders. This keeps the weight close to your center of gravity and maintains balance .
- Posture: Maintain an upright posture. Keep your chest up, shoulders back, and core engaged. Avoid leaning forward excessively .
- Pace: Rucking is a march, not a run. Aim for a brisk walking pace of 15–20 minutes per mile while staying in zone 2 cardio range .
4. Plan Your First Ruck
Start with a short, simple session:
- Distance: 1–2 miles
- Terrain: Flat, paved paths or sidewalks
- Duration: 20–30 minutes total
Focus on maintaining good form. If your form breaks down, reduce the weight or distance .
5. Build Your Routine Gradually
Aim to ruck 2–3 times per week, with at least one rest day between sessions. Over 4–6 weeks, you can increase distance or frequency as you feel more comfortable . A simple progression path:
- Add distance first (half a mile per week) until you’re comfortably rucking 3–4 miles.
- Then add weight in 5-pound increments, and drop the distance back slightly while your body adjusts .
Essential Gear for Rucking
Rucking vs. Weighted Vest: What’s the Difference?
While both involve walking with added weight, they differ in key ways:
Common Mistakes to Avoid
- Going too heavy, too fast: This is the number one beginner mistake. Starting with 30+ pounds will lead to injury. Start light and progress slowly .
- Letting the pack sit too low: A pack that sags to your lower back stresses the lumbar spine. Keep it high and close to your shoulder blades .
- Skipping recovery: Rucking is more demanding than walking. Allow 48–72 hours between sessions, especially in the first month .
- Wearing the wrong shoes: Thin-soled shoes or sandals lack the cushioning needed. Use trail runners or hiking shoes .
Safety and Precautions
- Consult a doctor: Before starting, check with your provider, especially if you have existing issues with your shoulders, knees, hips, or a pre-existing back condition .
- If it hurts, stop: If you experience pain during or after your ruck, give yourself time to recover and reduce the weight next time .
- Stay hydrated: Rucking is taxing on the body. Drink water before, during, and after your session .
Conclusion
Rucking is a simple, effective, and low-impact workout that builds strength, endurance, and bone density. It’s accessible to nearly everyone—from beginners just getting off the couch to seasoned athletes looking for cross-training. With a backpack, some added weight, and a pair of good shoes, you’re ready to start. The key to success is starting light, maintaining proper posture, and progressing gradually. Whether you’re using it for weight loss, muscle building, or just to make your daily walks more challenging, rucking is a robust way to enhance both your physical and mental well-being.
FAQs
Q: Is rucking safe for beginners?
A: Yes, when done correctly. Start with 10% of your body weight, keep the pack high on your back, and maintain good posture. If you have pre-existing conditions, consult a healthcare provider first .
Q: What weight should I start with?
A: Beginners should start with 5–10 pounds or about 10% of their body weight. Work up from there, adding no more than 5 pounds every 2–3 weeks .
Q: Can I use a regular backpack for rucking?
A: Absolutely. Any sturdy backpack with padded straps and a chest strap will work for loads under 20 pounds. Ensure the weight is packed tightly and sits high near your shoulder blades .
Q: How often should I ruck?
A: Start with 2–3 sessions per week, with at least one rest day between sessions. Your muscles and joints need time to adapt to the added load .
Q: Does rucking burn more calories than walking?
A: Yes. Rucking can burn up to three times more calories than walking without weight, putting it on par with jogging. The exact amount depends on your speed, weight carried, and duration